Restoring a 1998 iMac G3 rev A

Author:
* Coffnix
Reason
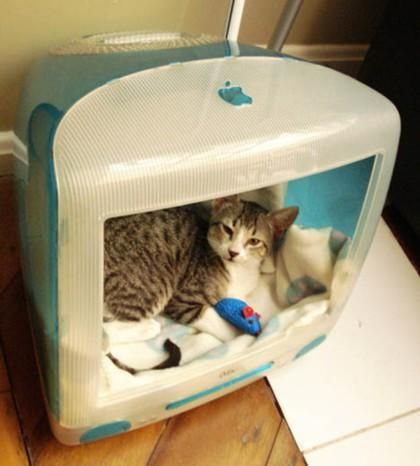
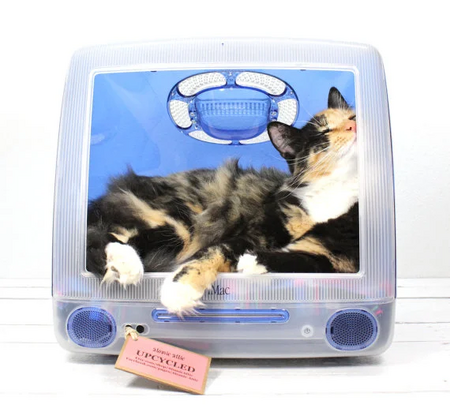
I wanted to make a modern cat bed and remembered that many people used old iMac shells.
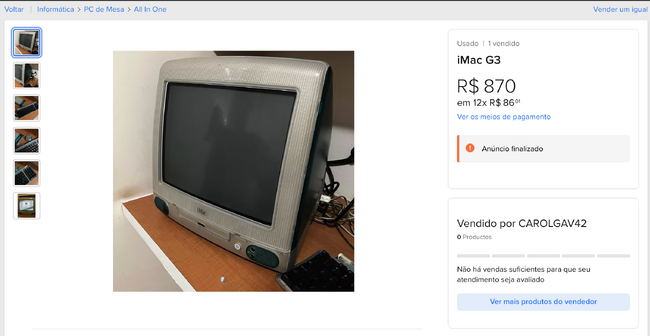
So I went to Mercado Livre to find a "dead" machine, cheap, to remove the electronics and leave only the plastic parts. I found a dead one that didn't work for 870 reais.
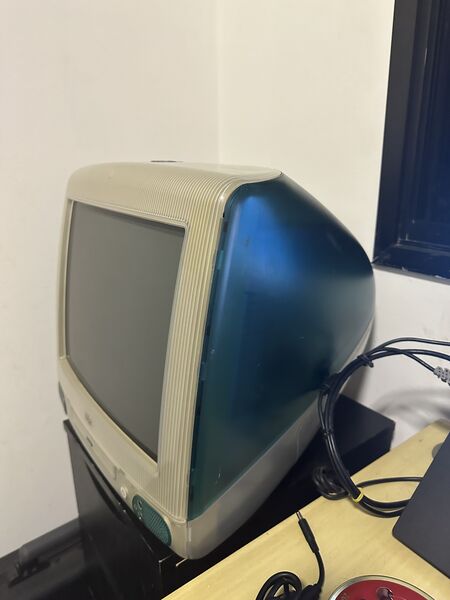
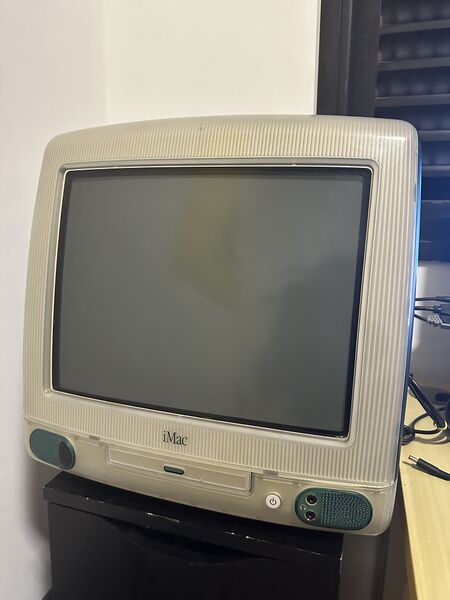
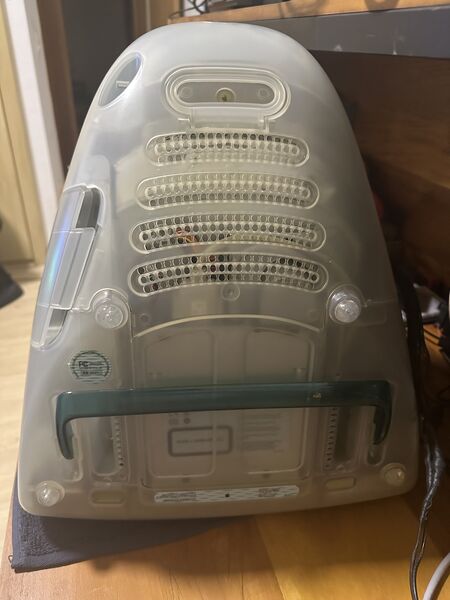
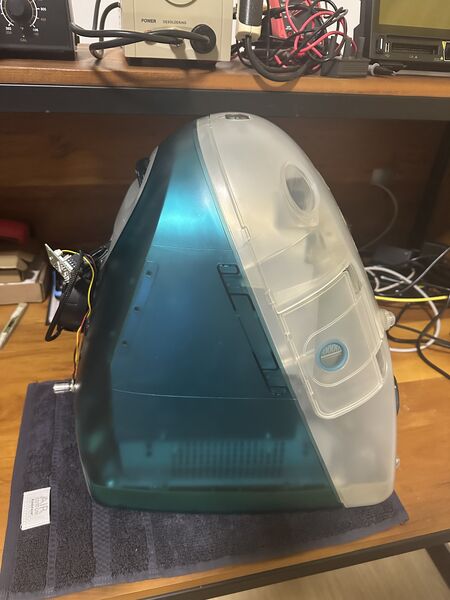
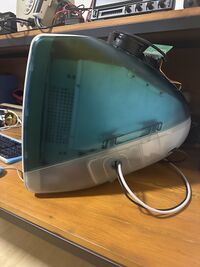
The machine arrived and was better than expected, no scratches or breaks.
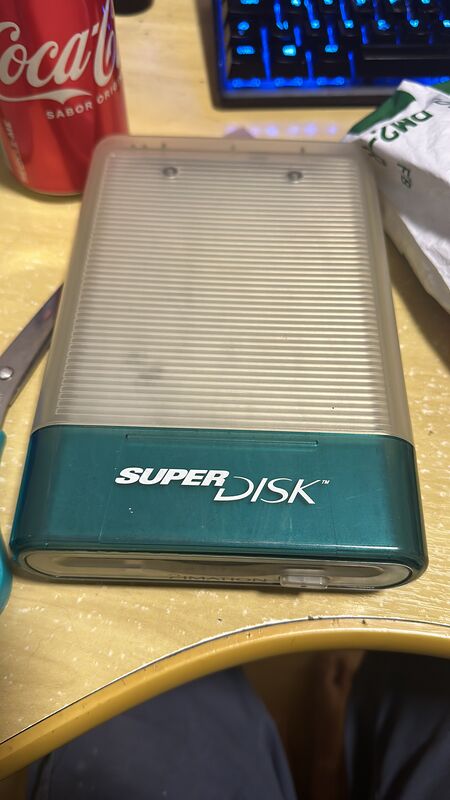
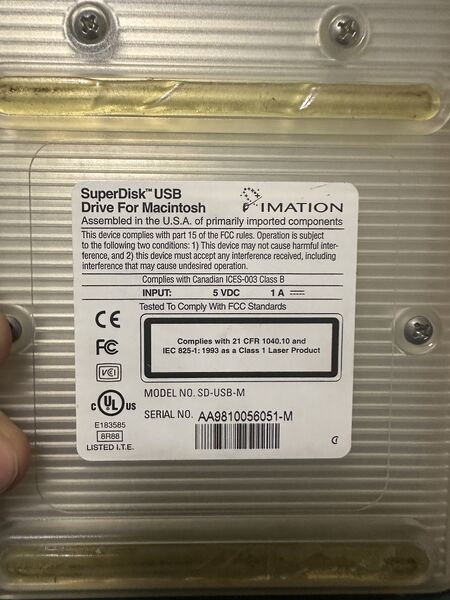
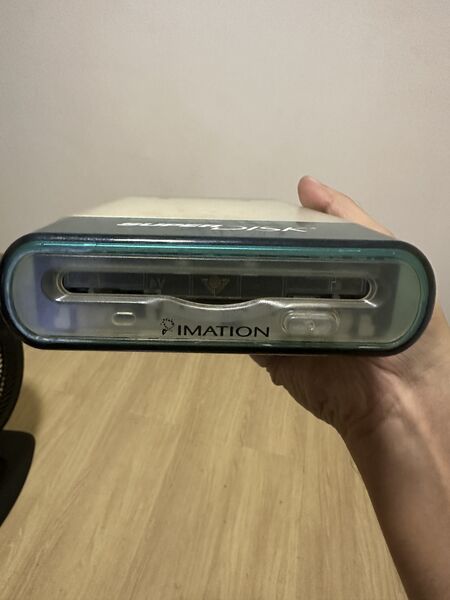
It also came with a superdisk iomega, also in excellent condition and working!
I felt bad about throwing away the electronics, so I decided to try to fix it before proceeding with the original "cat bed" project.
Diagnosis
When trying to turn on the machine, the screen turned off with a cricket-like noise, typical of a dying Flyback, and the machine died afterwards. I decided to open it up and see if it was simple to fix since the shell was in such good condition, with no scratches or breaks. In the video below, the original defect:
CRT Tube Precautions
If you don't want to DIE, just follow the procedures below
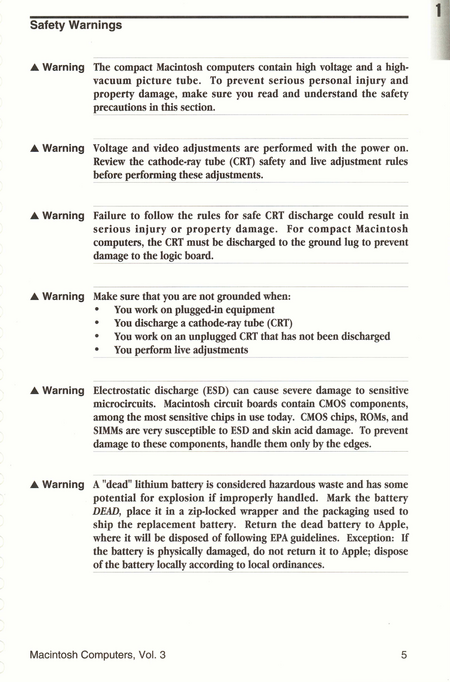
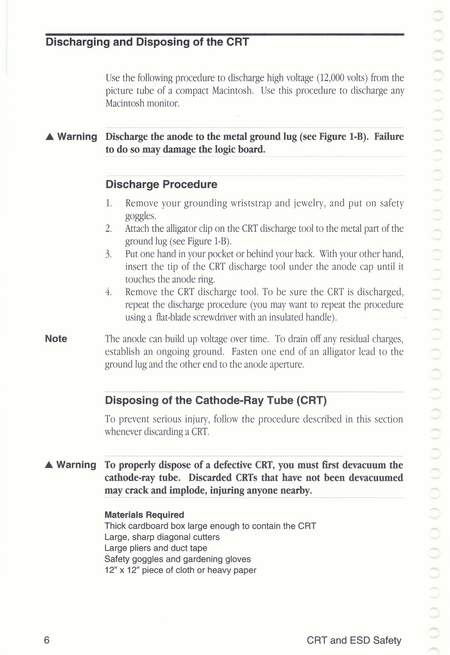
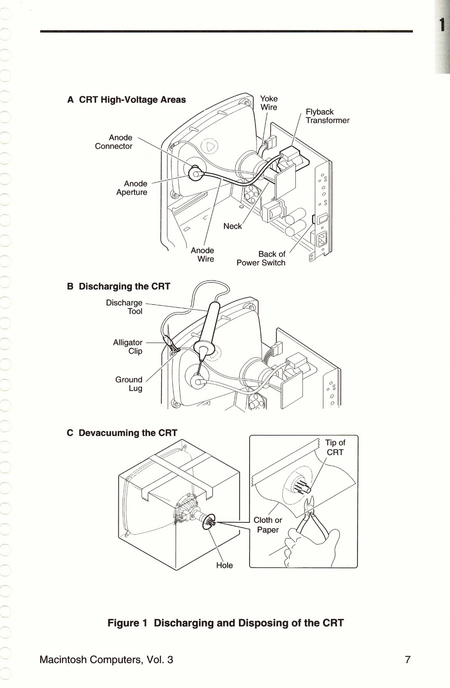
Attention, innocent! The CRT tube is no joke. It can fry you with voltages up to 25,000 volts. That's more than enough to stop your heart instantly. Mess with it without knowing and you'll win a one-way trip to the cemetery. Watch the video below for my explanation on how to handle CRT tube electronics safely:
If you don't believe me:
If you want info, RTFM. Follow the damn official Apple manual (https://archive.org/details/1994.07-service-guide-macintosh-computers-vol-3):
Read above again, repeatedly, to never make the mistake of not discharging a CRT tube.
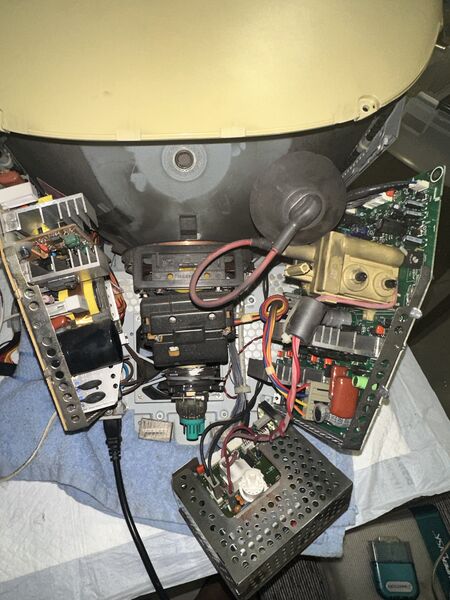
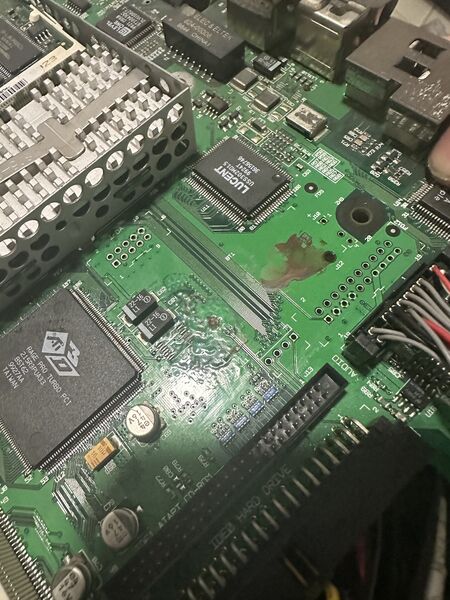
After opening, I saw that the condition was excellent, but I noticed several leaking capacitors, and others bulging, so I decided to do a general recap. Here's what it looked like open:
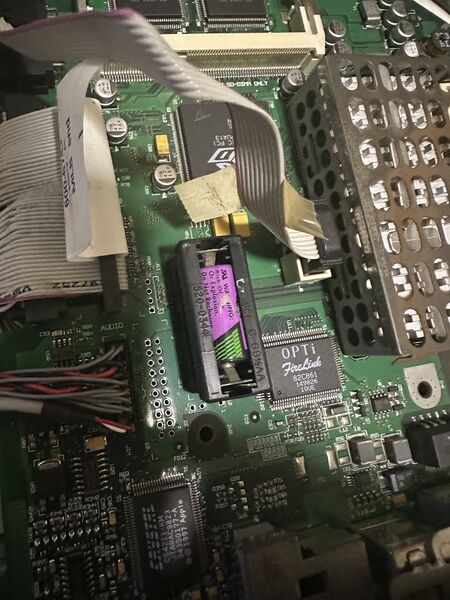
The battery was in terrible condition, and it was still the original one, but luckily it hadn't leaked or exploded.
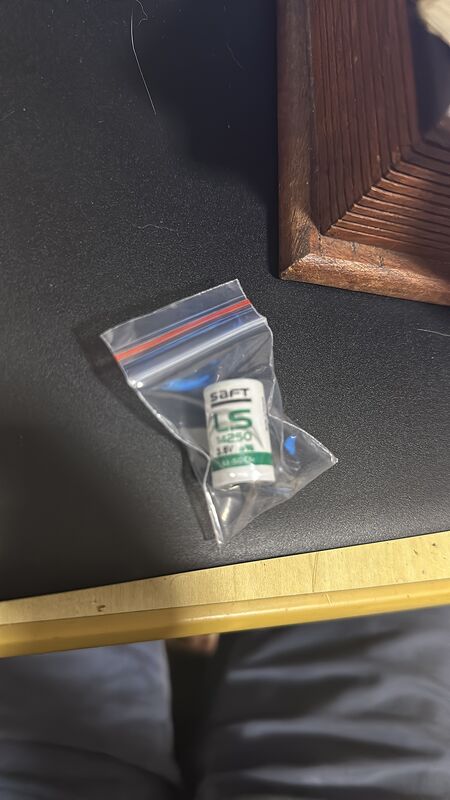
I bought a new one and replaced it after the repair. Model Ls14250. I bought it at the link https://produto.mercadolivre.com.br/MLB-2773012599-bateria-lithium-saft-ls14250-36v-envio-imediato-_JM?quantity=1
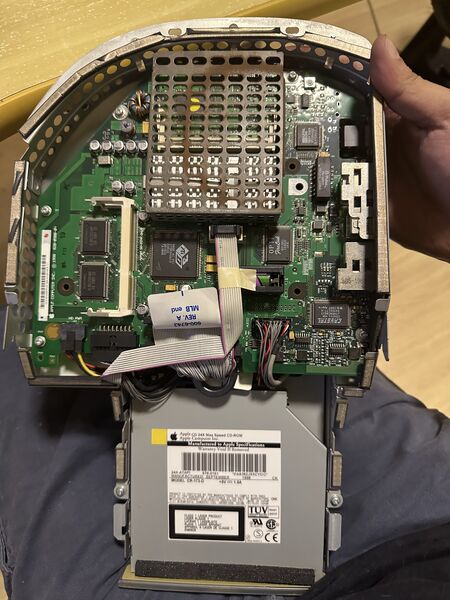
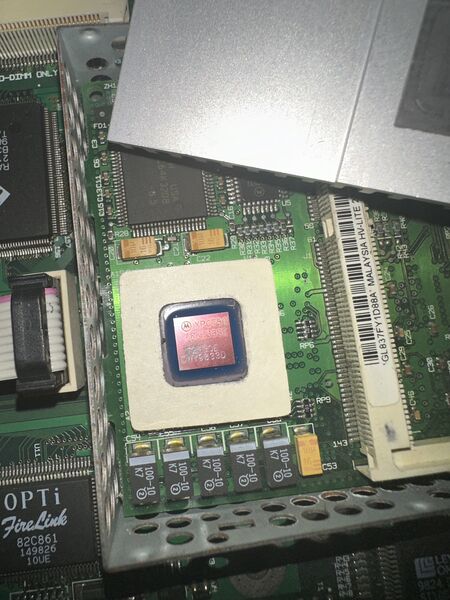
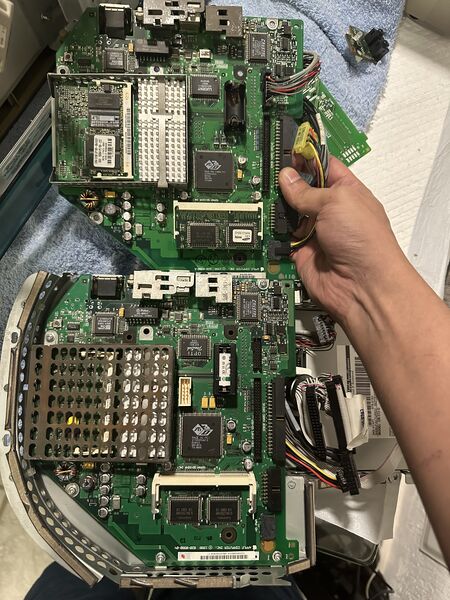
The motherboard and the original 233MHz processor can be seen in the photos below:
With everything disassembled, I did a cleaning and glued some locks.
Electronic Repairs
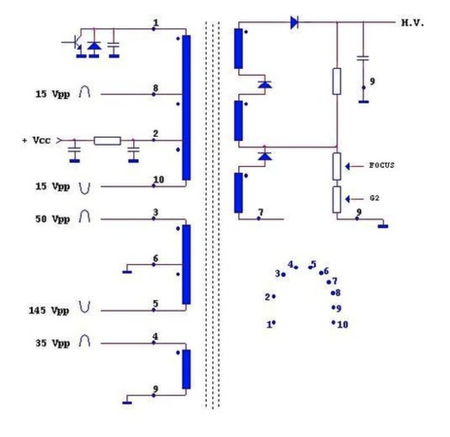
I got the schematic, removed the flyback from the analog board, and decided to run tests.
Got it! The defect was detected in the flyback, and some bad and bulging capacitors as shown in the video below:
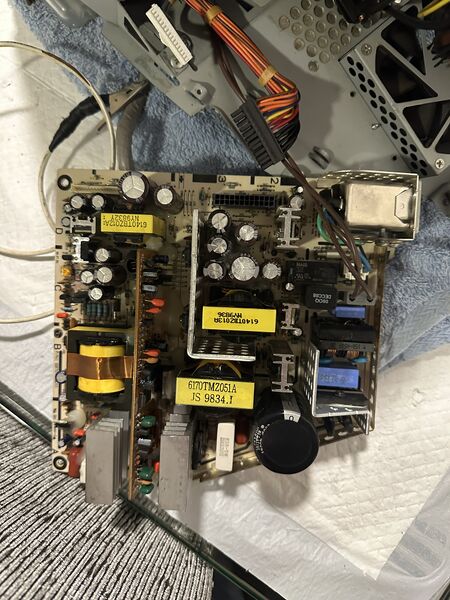
The power supply was good, everything working fine, but I decided to replace all the capacitors.
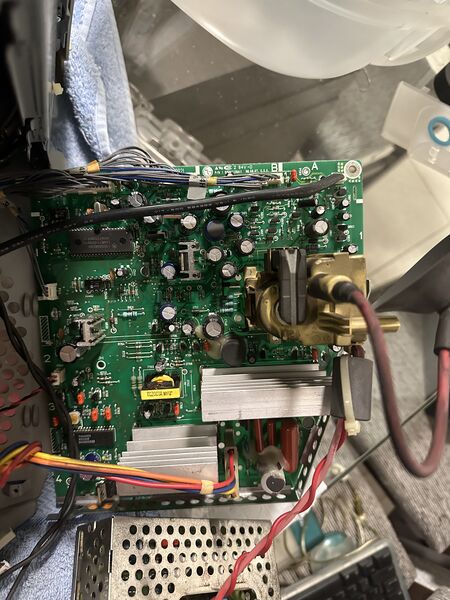
This is the analog board that was defective:
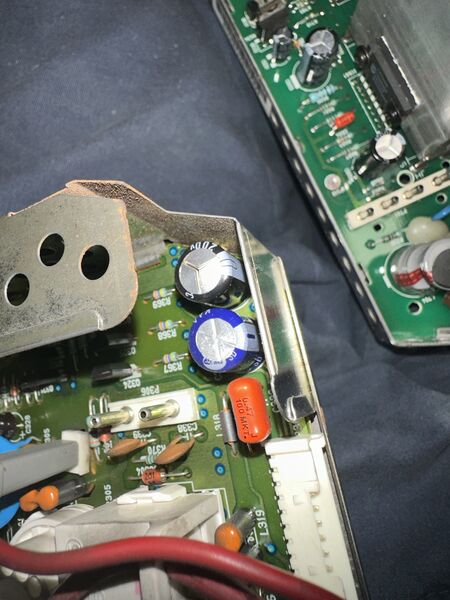
Note the bulging capacitors on the board that connects the flyback to the CRT tube:
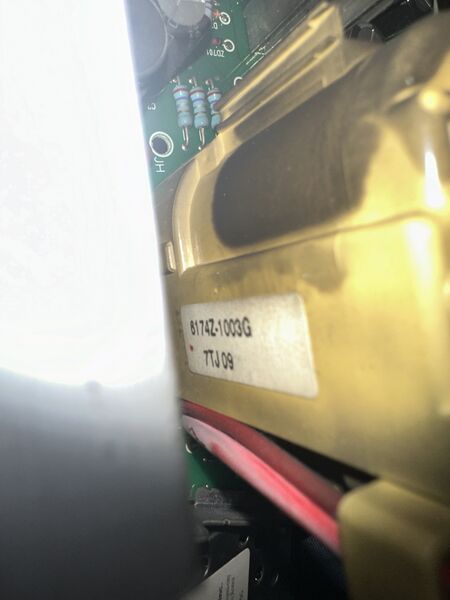
I got the original model of the flyback to buy a new one:
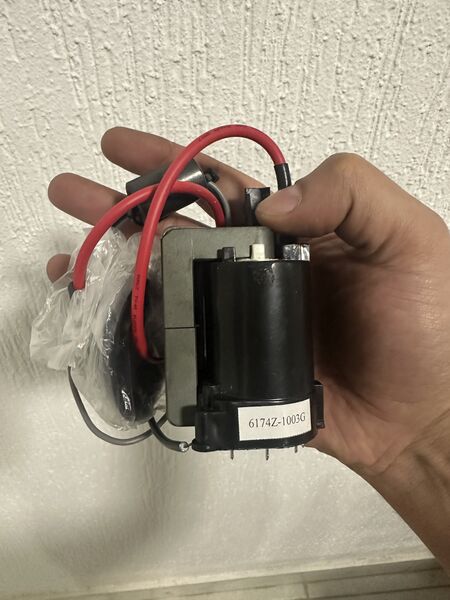
I found two to buy on Mercado Livre, and bought both:
After replacing the flyback and capacitors, the machine worked, the monitor stopped turning off, and it didn't die anymore, but it still froze on the boot screen. I left it on for about 30 minutes and the screen didn't turn off, so the analog board issue was 100% resolved.
My feeling when I saw this screen on without turning off:
Operating System Repair
I took the 4GB HDD and connected it to my Mac via USB port with an IDE/SATA adapter and fixed the HFS+ file system, which was corrupted. After fixing the filesystem, the system booted normally. It was a macOS 8.6 with 32MB of RAM. I reassembled the case after a complete cleaning and replaced the original cooler with a Noctua.
Upgrades
This gem couldn't run on the original configuration because it was too weak and limited. So I quickly went to Mercado Livre to try to find a newer processor and memory, and I found a burned-out motherboard (in condition) where the seller said it was a 1999 model with 333MHz and 128MB of RAM. I bought it. The board arrived in terrible condition, with a leaking battery and broken tracks, but luckily the processor and 128MB memory were perfect, which was what I was interested in.
Processor Upgrade
I replaced the processor, removed the original thermal pad, cleaned the heatsink with steel wool, and applied new good thermal paste:
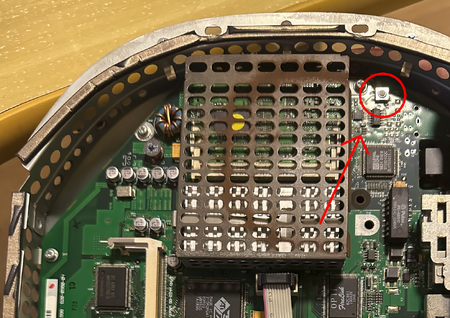
After testing the first boot and changing the processor, the machine didn't boot up. On the Apple forum, some people reported that it was necessary to reset the PMU, which is located on the motherboard, circled in red in the photo below, for the new processor to be recognized:
And voila! It booted up normally! However, it showed a strange bug where after changing the screen resolution or even restarting the iMac, the screen wouldn't come back on, it would always stay off. Also, the green button would always stay on even after I shut down the iMac. Problems solved after resetting the PRAM and NVRAM. :D
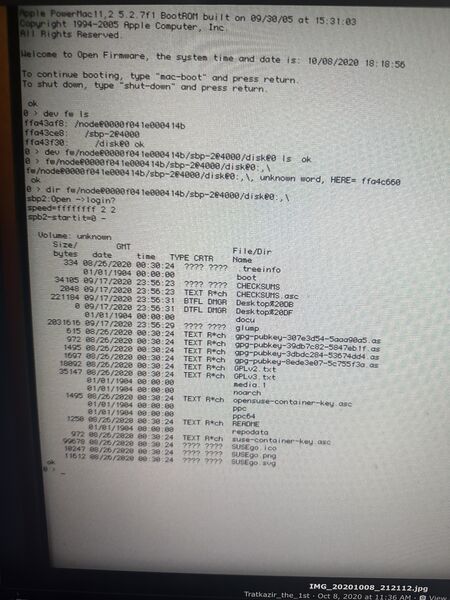
The OpenFirmware screen has several commands, just access it at boot. The screen looks like this:
Below is the procedure for resetting the PMU, PRAM, and NVRAM:
1- Press the button for 5 seconds, and wait for 30 seconds before turning everything back on. NEVER PRESS IT MULTIPLE TIMES, THIS WILL CORRUPT THE PMU!!! Press once only. Reconnect normally.
2- Turn on the iMac and after hearing the boot chime, simultaneously press the Command (⌘) + Option (⌥) + P + R keys. After hearing the boot chime twice, unplug the iMac. This will reset the PRAM.
3- Turn on the iMac and after hearing the boot chime, simultaneously press the Command (⌘) + Option (⌥) + O + F keys to enter OpenFirmware and reset the NVRAM. Type:
reset-nvram
Then type:
set-defaults
Then restart your iMac:
reset-all
4- Let the iMac boot up normally, and keep it on for at least 10 minutes to allow all OS tests to be completed, and shut down the machine properly.
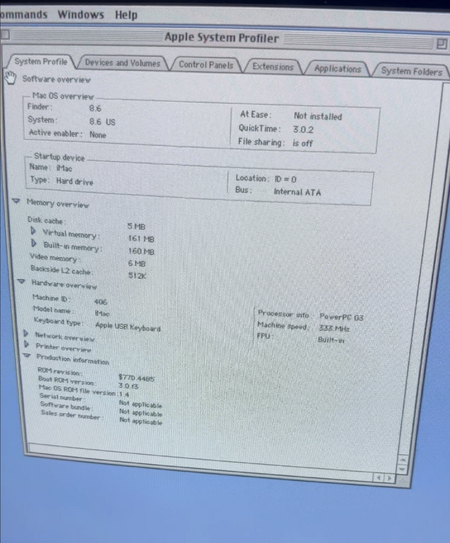
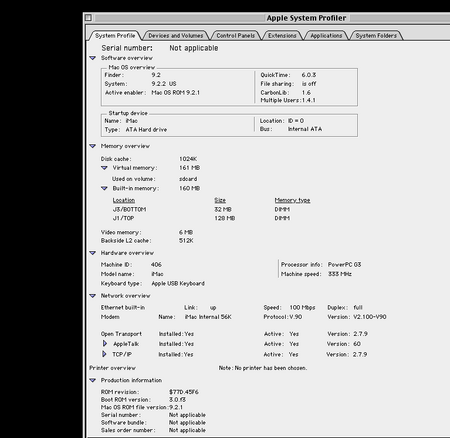
After this, the system remained stable, all bugs disappeared, the screen shutdown during reboot and screen resolution changes no longer occurred, and the bug that kept the green button on after shutdown was also resolved. I left the machine on for days during tests, with the memory fully recognized with 160MB and a 333MHz processor running macOS 8.6. Zero problems or crashes.
CD-ROM to DVD Upgrade
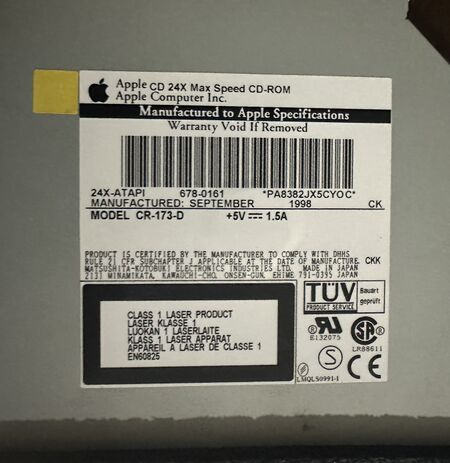
The original 24x CD-ROM was reading very poorly. I tried cleaning the lens and it didn't help.
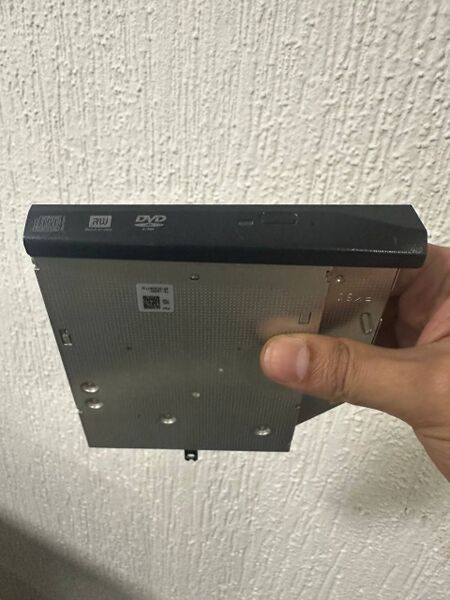
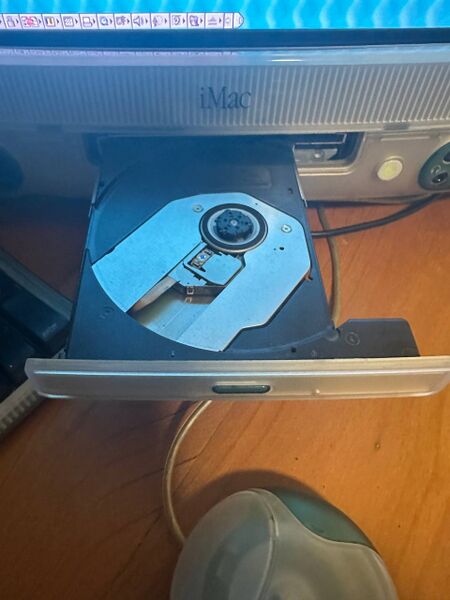
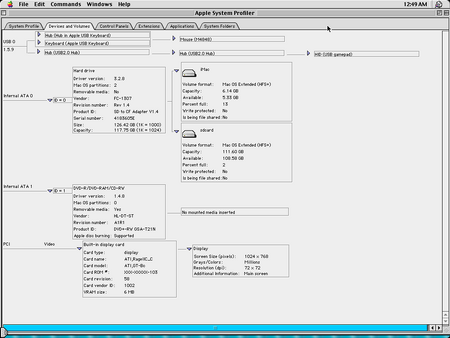
So I decided to test a DVD drive I had kept from an old notebook. It worked perfectly. I just had to break the internal locks of the original CD-ROM cover to fit the Dell notebook DVD drive and glue it with double-sided tape. It looked good and now the iMac G3 can read and write DVDs:
HDD to SD Card Upgrade
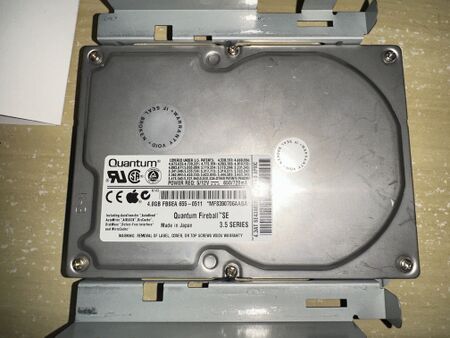
The original HDD was only 4GB and was giving numerous errors during reading with dd, and freezing the machine all the time during use, not to mention it was overheating. Replacing it was necessary, but I wasn't going to replace it with a mechanical HDD, no way!
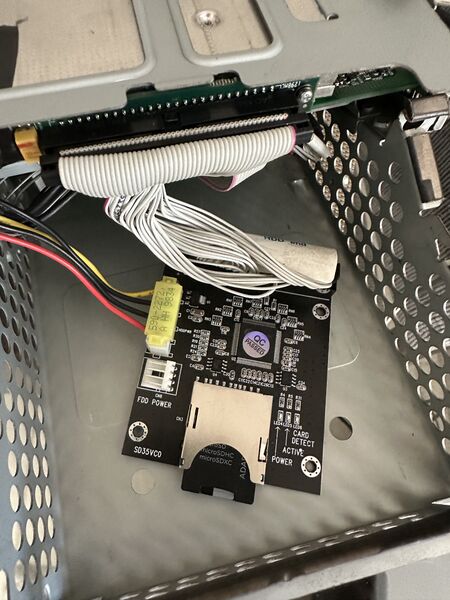
I tried replacing the HDD with NVMe, mSATA, SSD, and none worked, limited by the IDE bus and controller of this model that only supports ATA-33 and ATA-66. I tested 3 different models of IDE to SATA adapter boards and 4 different models of SSDs, 2 models of NVMe and 1 mSATA. None were recognized by the OpenFirmware BIOS. Then I saw on Amazon a SD card board that supported the ATA-66 standard, and decided to test it, and it worked!
Here is the Amazon USA link where I bought it: https://www.amazon.com/dp/B07YFPX7JB?psc=1&ref=ppx_yo2ov_dt_b_product_details
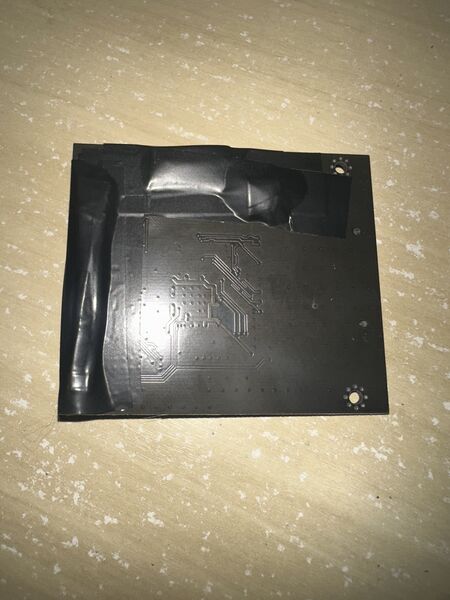
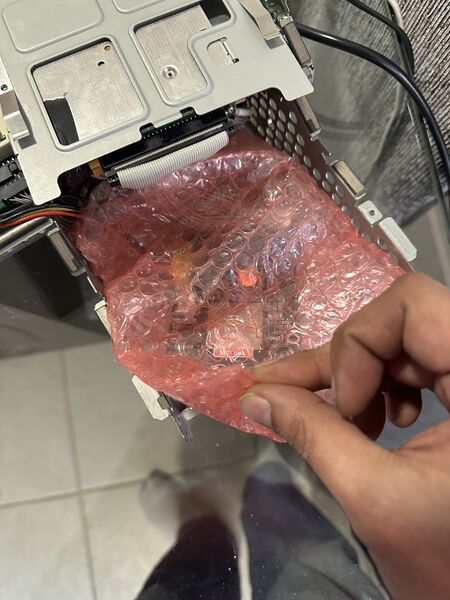
I made a protection for the board on the bottom since the case is metallic, and also wrapped the board in bubble wrap after installation. The card I used was a Lexar Silver 128GB, extremely fast and stable.
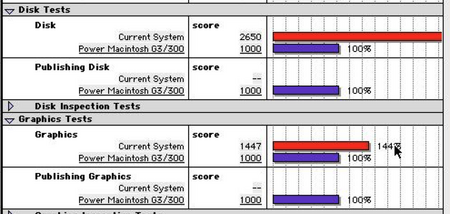
See how cool the benchmark looked after replacing the HDD, which didn't even reach 4MB/s before. Now the SD card hits the bus limit, around 17MB/s. I used MacBench 5, which you can download from the link https://www.macintoshrepository.org/28838-macbench-5-0-cd
Operating System Upgrade to macOS 9.2.2
Now with the hardware finalized, it was easy to upgrade. I downloaded a bootable image that worked well. Here are the ISO names and the SHA1 of each that worked.
SHA1: aa2138b77835ae8b446c9ce8ab84c6b8689b6eda
File Name: Mac OS9.2.1 Original Copy .iso
Download Link: https://archive.org/details/mac-os-9.2.1-original-copy
SHA1: 4d5cedf3c6d16fa5dbcec450f96a6a18597bcee7
File Name: mac-os-9.2.2-universal-2002-edition.iso
Download Link: https://www.macintoshrepository.org/1307-mac-os-9-2-2-universal-2002-edition-
Burn to a CD-R at the lowest possible speed. Here I burned at 10x and it booted normally. To boot just insert the CD into the tray and at boot, hold down the C key.
After booting from the CD, open Drive Setup and partition the primary disk with a maximum of 6GB (technology limit), and create one or as many other partitions as you want with the remaining space. I made one of 6GB and another of 110GB on my SD card. After installing version 9.2.1, insert the 9.2.2 version CD into the drive and update the system without the need to boot via CD, just choosing the "Update" option after running the installer.
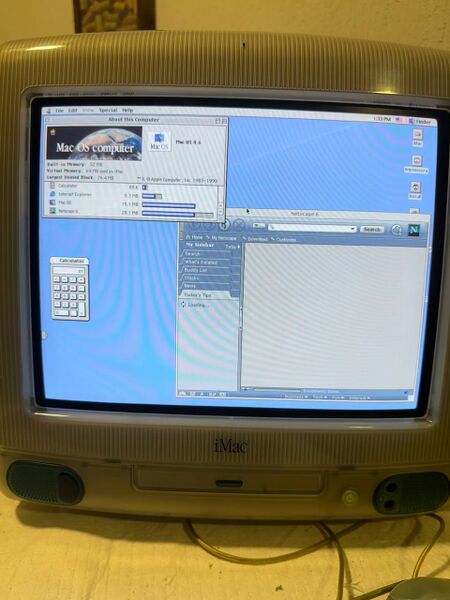
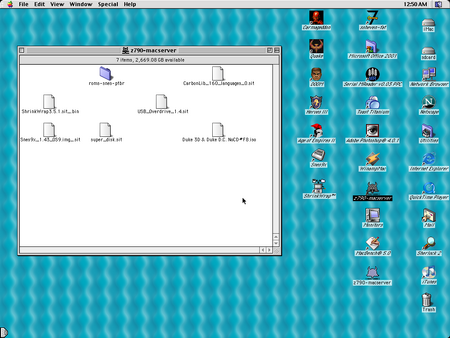
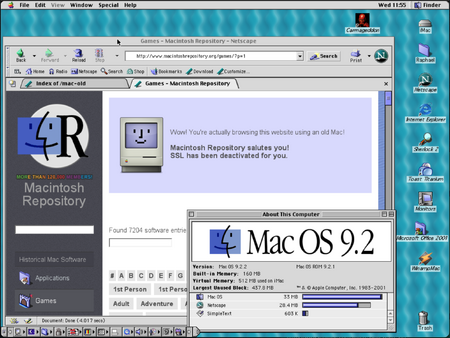
Here is the new installed and working system, with several tested software and also native macOS 9 games and various emulators and ROMs.
Improve imac Cooling
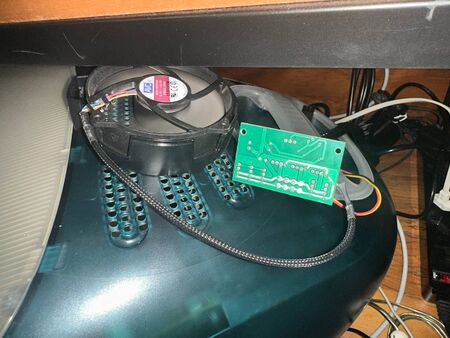
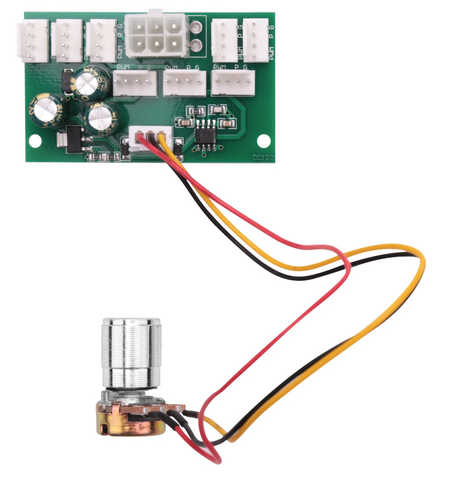
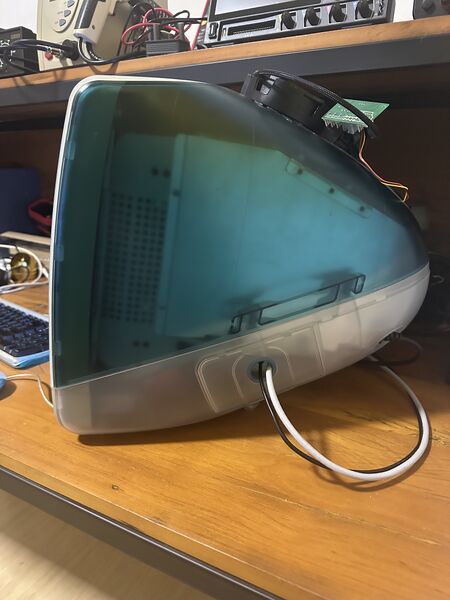
These machines get VERY HOT! There is no cooler on the processor, it's all passive, and only one cooler for all the boards. So I installed an AMD cooler box that I never used, with a speed control board. It was well above, at the air outlet. I connected it to a 12v power supply and properly insulated the wiring. The always low temperature ensures that the system runs fast and stable, without crashes or risks to the hardware, prolonging the life of the system as a whole.
I bought this board on Aliexpress at the link https://pt.aliexpress.com/item/1005004212696054.html
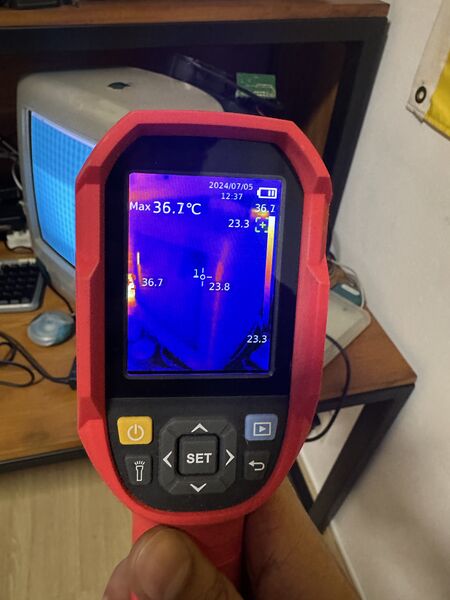
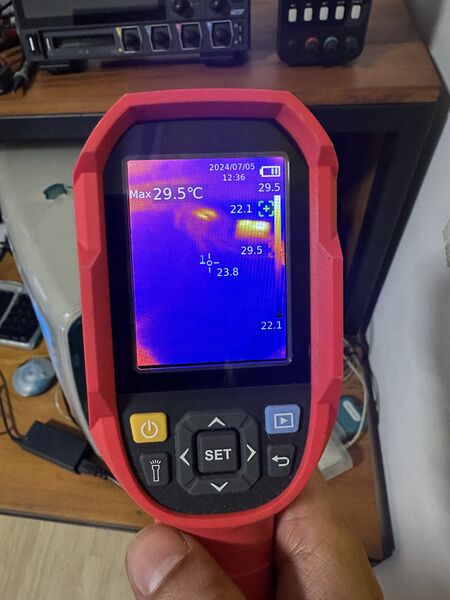
The ideal is always to remove the hot air from inside the iMac. Blowing cold air into the machine is stupid. Keep an eye on the airflow: never install a cooler to push cold air inside, otherwise, in a few months, you'll have a machine full of dust, causing electronic damage. Besides being inefficient, it will accumulate moisture and ruin everything with corrosion. I tested both methods with a thermal camera, and the only thing that really reduced the temperature was removing the hot air from inside the iMac.
See the final temperature:
Keyboard and Mouse Upgrade
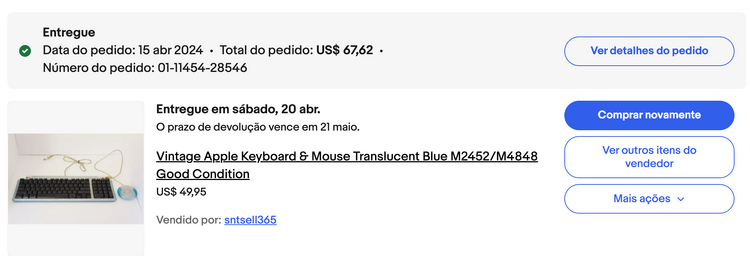
The original keyboard and mouse were bad, so I found a new keyboard and mouse on eBay, never used, from a collector.
A great friend, and member of área31 who was on a trip to the USA brought me this gem. Thanks a lot for the help KNZ!!
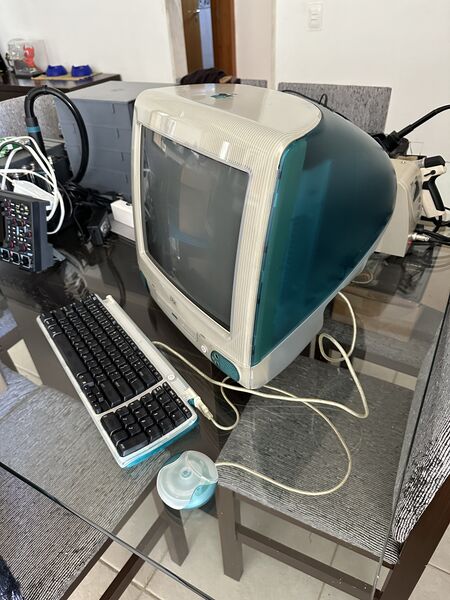
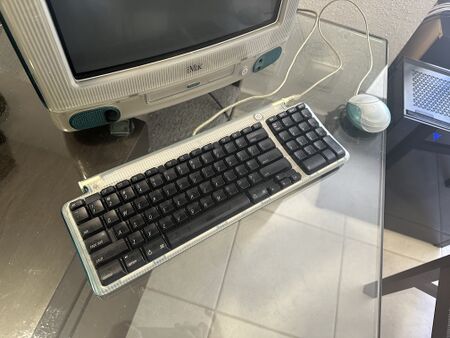
Note that the keyboard and mouse are so new, they revealed how yellowed the iMac shell was. lol
USB Joystick for Games
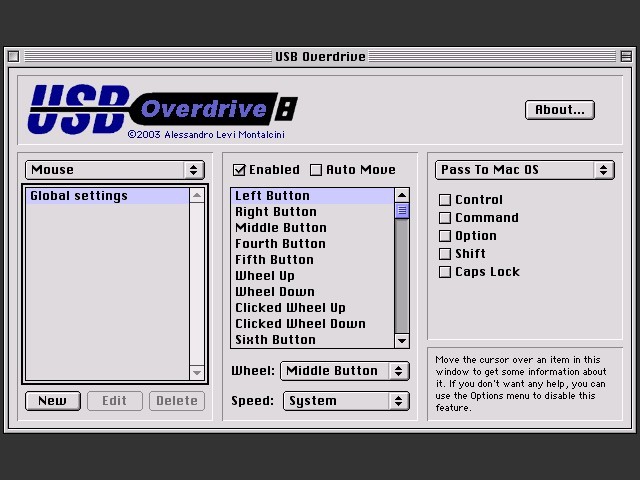
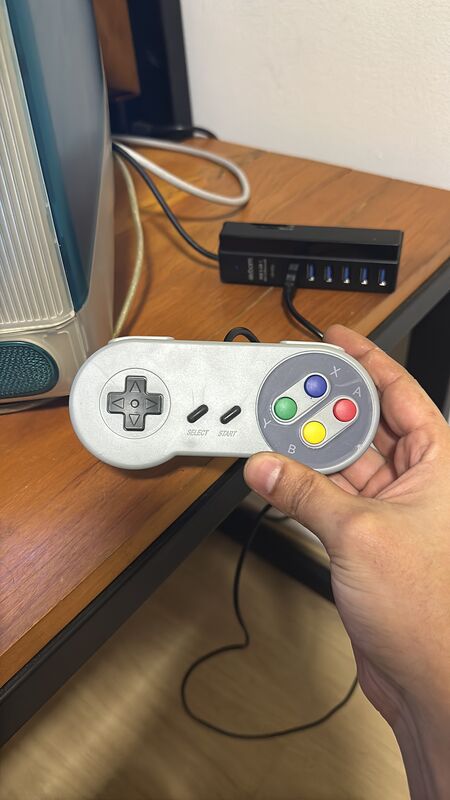
To play on macOS 9 with a USB joystick is very simple, just install USB Overdrive 1.4, available at the link https://www.macintoshrepository.org/1810-usb-overdrive-1-4
This is the model I tested:
AFP Network for File Exchange
For the old Mac to communicate with the new one, an AFP server is needed. In Linux, we have Netatalk which I've been using for a thousand years for Time Machine backups. But to communicate with old machines, there was a login error due to OpenSSL 3.0 dropping short keys.
uams_dhx_pam.c :PAM: Err Generating Key (OpenSSL error code: 41943166, error:0280007E:Diffie-Hellman routines::modulus too small)
Yes. macOS 9 already used an SSLeavy/OpenSSL implementation:
Details of the OpenSSL bug:
https://github.com/openssl/openssl/issues/22158
After changing my system to use LibreSSL instead of OpenSSL, I saw that the new version of Netatalk compiled well and worked! See this report:
https://github.com/Netatalk/netatalk/issues/358
Configure the AFP Server
I created a Netatalk spec that you can download and compile if you want. I prefer:
Spec for compilation with LibreSSL
https://area31.net.br/downloads/netatalk.spec
Spec for compilation with WolfSSL (recommended)
https://area31.net.br/downloads/netatalk-wolfssl.spec
To compile, just install the rpm-build package, here I used openSUSE, and put this file above in /usr/src/packages/SPECS/netatalk.spec
Some more packages will be needed:
root # zypper in automake db-devel fdupes krb5-devel libacl-devel libavahi-devel libevent-devel libgcrypt-devel libtdb-devel libtool openldap2-devel libressl-devel pam-devel pkgconfig systemd tcpd-devel zlib-devel dbus-1-devel dbus-1-glib-devel tracker-devel
Then get the Netatalk source code in the spec version, add the source to the /usr/src/packages/SOURCES/ directory, and compile with the command below:
root # rpmbuild -ba /usr/src/packages/SPECS/netatalk.spec
Install the new RPM packages generated in the /usr/src/packages/RPMS/x86_64 directory and be happy.
To configure Netatalk, just compile and adjust two conf files. I used openSUSE Tumbleweed as a server:
/etc/netatalk/afp.conf - AFPD conf;
; Netatalk 3.x configuration file
;
[Global]
#log level = default:debug
log file = /var/log/afpd.log
hosts allow = 192.168.200.0/24
afp listen = 192.168.200.252
hostname = z790
ATALKD_RUN = yes
[mac-server]
path = /storage/mac-server
time machine = no
valid users = mac-server
uam list = uams_dhx.so,uams_dhx2.so
/etc/netatalk/AppleVolumes.default - AFP Apple Volume conf:DEFAULT: options:upriv,usedots
/storage/mac-server allow:mac-server options:usedots
Create the user to connect via AFP:
root # useradd -m -d /storage/mac-server mac-server
Set the password for the user with a maximum of 8 characters (macOS 9.2 limitation that doesn't support more than that):
root # passwd mac-server
Create the directory and adjust the permissions:
root # mkdir -p /storage/mac-server
root # chown mac-server: -R /storage/mac-server
Start the service and add it to the boot:
root # systemctl start netatalk
root # systemctl enable netatalk
After all this work, it was possible to communicate from macOS 9.2.2 with Linux:
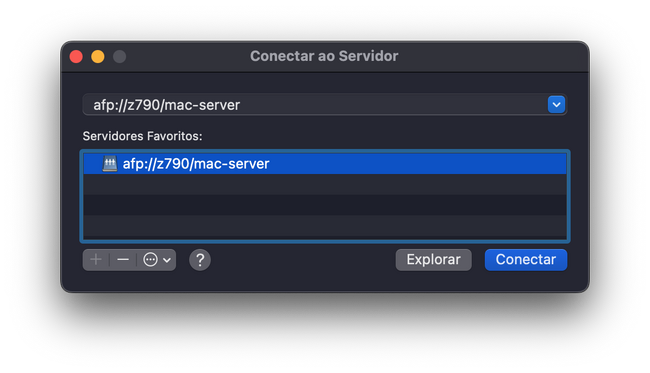
and from macOS 15.0 Sequoia I can also connect to this share and share files. It became simple and functional. Just use the Command (⌘) + K keys to open the native MacOS server connection screen and type the AFP share URL. :D
Reassembly
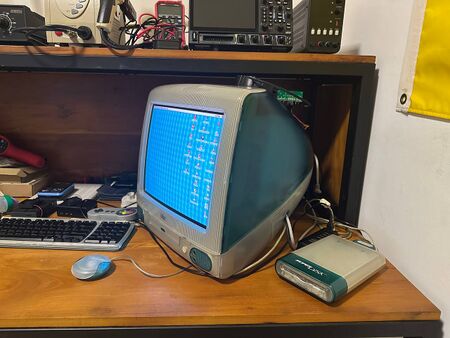
I fully reassembled the iMac.
Check out the macOS 9.2.2 boot time on the SD card:
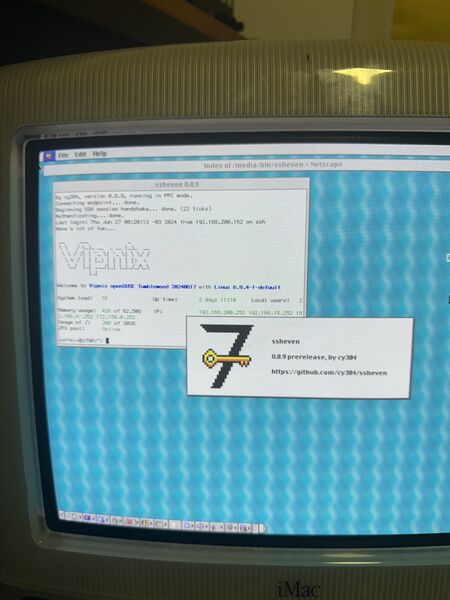
I updated all the software to the latest versions I found for macOS 9.2.2. Everything is stable, running very reliably and fast. The CRT tube has impeccable quality, excellent for being a "retro gamer" machine, as it runs everything natively for PPC, and various emulators run well and with high quality. The sound of this machine is wonderful. Nothing SSL works via browser, but SSH, FTP, HTTP, and AFP work. I even found a functional SSH client:
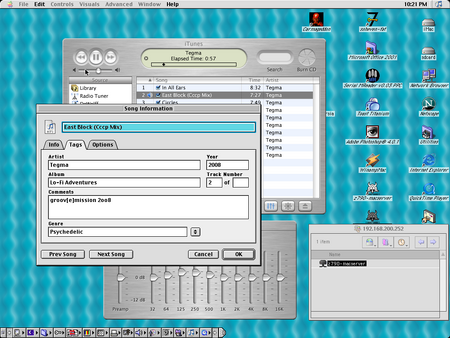
iTunes connects perfectly to CDDB servers to download the information of music CDs you insert into the CD/DVD drive, and online radios also work:
Web browsing is running via Netscape 7 and Internet Explorer 5.1
Here are videos of games running on the iMac G3:
Mario via SNES9x:
Quake running natively for PPC:
Doom:
Diablo 2:
Carmageddon:
Duke Nukem 3D:
Conclusion
Even after 26 years, the foundations of the internet remain unchanged: DNS, FTP, SSH, HTTP, AFP, DHCP, IPv4, and IPv6 continue to be the unshakable pillars. While technology advances on other fronts, these protocols prove that the robustness and reliability of a good foundation are eternal. It's fascinating to see how something created so long ago still supports our modern digital infrastructure.
If I want an iMac G3 to make a cat bed, I'll have to buy just the empty shell. If it comes with electronics, I'll fix it again. And the final result exceeded my expectations: now I don't need any old, expensive, and limited video game because I have a RISC PPC computer that runs everything old. And I don't need a CRT TV or a thousand converters for consoles because I have the best CRT screen on the market. No CRT TV came close to the resolution of 1024x768 and the color quality of the iMac CRT monitors. The highest resolution we had in the CRT TV market was 640x480.
I'm satisfied, and the fun in the recovery process is over, but now it's time to use this machine for retro gaming. If the main chips don't burn out, I hope this toy lasts another 30 years. Anyway, I have a backup of another dead motherboard with several working components, another brand new flyback, memory, and original 233MHz processor. :))))))
